
It begins with a few of my favorite things:

You can make the first two layers the night before, like I did.
Layer one is a chocolate cake. That part actually went together so quickly I forgot to take a picture. You could even use a cake mix, although you would have a lot of leftover batter.
Layer two is a chocolate cheesecake. If you have a favorite recipe for chocolate cheesecake, feel free to use that.

Layer three is an Italian mousse. I used a recipe that involved a mixture of cream cheese and heavy whipping cream, but I've also found recipes that are for a more custard like mousse. I'd like to try it that way next time.

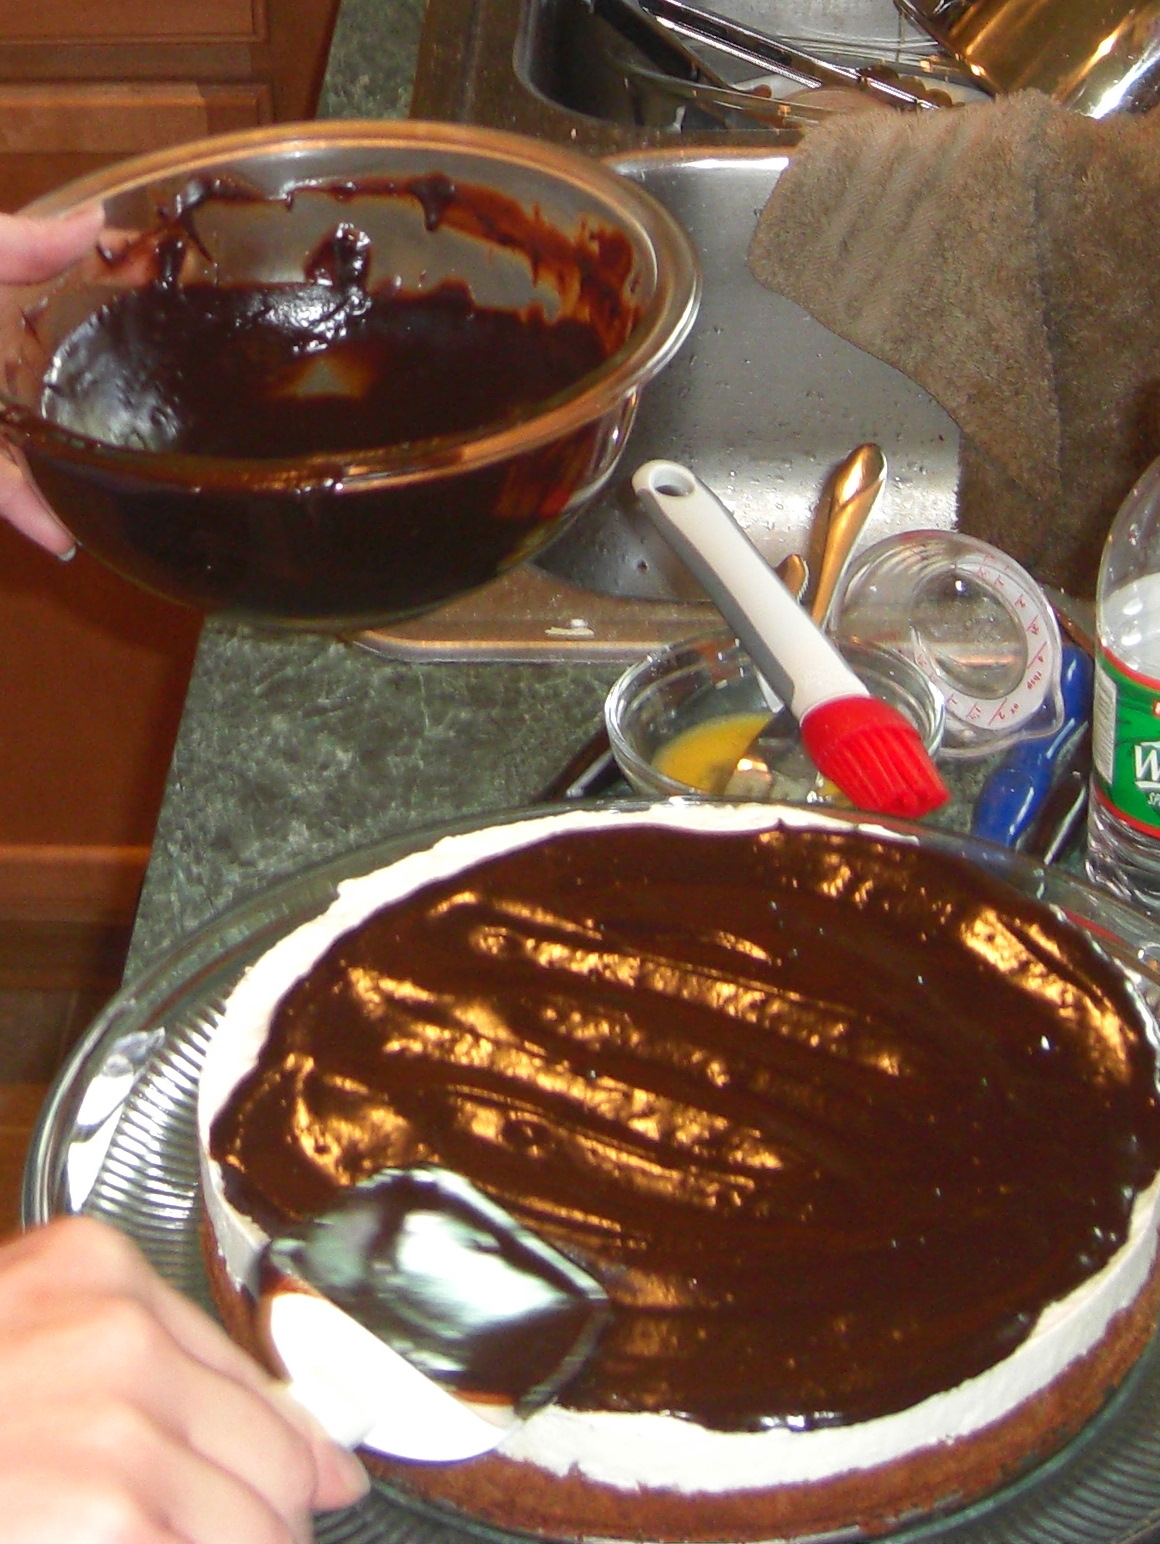
Layer four is a dark chocolate ganache. All I have to say about that is: chocolate and cream were made for each other.
Drizzle a little white chocolate in three circles around the cake and swirl with a toothpick before the ganache sets up.

For the grand finale, take some mini chocolate chips and press them along the edges to create a crust.

Oh, wait, we're not done yet... there's not quite enough chocolate here yet. Let's make a little chocolate whip cream to decorate the edges.

And there you have it. Chocolate. Decadence.

A little Hershey's syrup for presentation if you can handle just one more kind of chocolate:

Olive Garden copycat recipe for
Black Tie Mousse Cake
Layer 1 Chocolate cake "crust":
3 Tablespoons butter, softened
2/3 Cup sugar
2 eggs
1/2 Teaspoon vanilla
1/4 Cup baking cocoa
1/4 Cup flour
Preheat oven to 350. Lightly grease bottom only of a 9 inch springform pan. In medium bowl cream butter and sugar. Add eggs, beating well after each addition; add vanilla and mix well. Add flour and cocoa and mix well to combine. Batter will be stiff. Spread in pan. Set aside.
Layer 2 Baked Chocolate cheesecake:
8 Ounces cream cheese, softened
1/2 Cup ricotta cheese
3/4 Cup sugar
1 Ounce unsweetened chocolate, melted and cooled
2 eggs
1 Tablespoon flour
In large bowl cream cheeses with sugar until smooth. Add small amount to melted chocolate and combine well, add chocolate mixture and beat until well combined. Add eggs and flour and beat well. Smooth over top of cake batter in pan. Bake at 350 for 25-30 minutes or until cheesecake is set in center. Cover with foil during last 10 minutes if needed to prevent over browning. Remove from oven and cool.
Layer 3 Italian mousse:
3/4 c. heavy whipping cream
12 oz marscapone or cream cheese, softened (or 6 oz of each)
1/4 c. sugar
1/2 tsp. vanilla
1 T. cold water
1 T. boiling water
1 tsp. unflavored gelatin
Beat cream until stiff. In separate bowl beat cream cheese with sugar and vanilla until smooth. Combine with cream and fold to combine. In small bowl soften gelatin in cold water for about 1 minute. Pour boiling water over gelatin and stir to dissolve gelatin. Cool five minutes. Fold into cheese mixture until just combined. Spread mixture over baked cheesecake layer and chill well (freezing the cake at this point works well and makes spreading the final layer easier).
Layer 4 Dark chocolate/white chocolate ganache:
9 oz dark chocolate, either chips or bars broken in pieces
3/4 cup heavy whipping cream
1 Tablespoon butter
3 Tablespoons white chocolate chips
1 cup mini chocolate chips
Heat cream and butter over low heat until just boiling (may also microwave). Place dark chocolate chips/pieces in large bowl. Reserve 1 1/2 tablespoons cream mixture. Pour cream mixture over dark chips and let set about 2 minutes, or until chips begin to melt. Stir to combine. Repeat for white chips using reserved cream mixture. Let ganache cool until spreading consistency (set in refrigerator to speed this part up).
Using a sharp knife gently run blade around edge of cake to loosen. Remove cake sides from pan and place bottom with cake on serving plate or stand. Spread frosting over top and sides. Drizzle white chocolate lightly over top. Using a knife or toothpick run it lightly over top to swirl to create desired effect. Press mini chips into frosting on sides until completely coated to create a "crust".
Mousse frosting:
1/2 heavy whipping cream
1/4 c. powdered sugar
1/8 c. baking cocoa
1/8 tsp. vanilla
Combine all ingredients and whip until peaks form. Pipe generously around cake top edge, and center. Chill well and serve. Serves 12-16.


